B
o
n
e
s
!
B
o
n
e
s
!
B
o
n
e
s
!
B
o
n
e
s
!
B
o
n
e
s
!
Jae Pérez and Judith Nuño
Lecture
by Jae Pérez on drawing techniques to Anatomy Class
and
Lecture to APSA class by Judith Nuño
on scientific illustration
given on December 5, 2000
|
|
|
Jessica Dufour 2. Wrap Contour Drawing: 1/2 skeleton in white colored pencil on heavy, smooth-toothed black paper. |
|
3. Chiarascuro Drawing: Figure and interior, light and shape oriented drawing using erasers, compressed charcoal, workable fixative, x-acto knives, brushes, and ink washes on watercolor quality paper |
 |
|
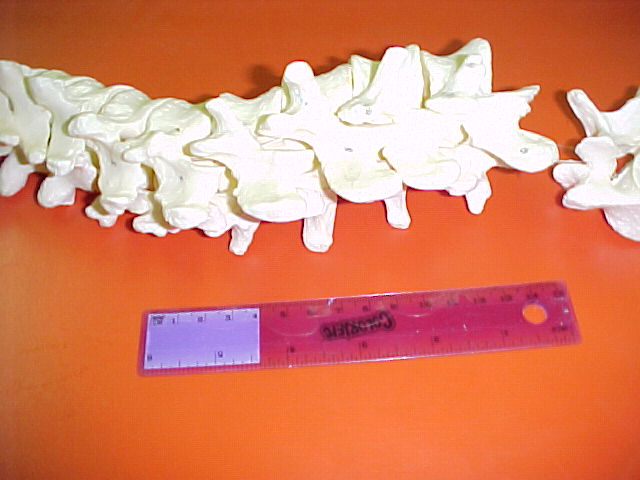
4. Anatomy Skeletal Drawings: Draw and label dorsal, ventral, anterior, and posterior views of human skeletal bones and bone parts. Use text to aid in identifying and labeling the bones and bone parts |
5. Major Project to be executed at the Page Museum:
- Create a page
in a scientific illustrator's sketchbook
- APSA: (Using 5 levels of Value) Create a pen and ink texture study of 3/4 of a prehistoric bird skeleton on 18" x 24" illustration board. Also include small studies and necessary information about the bird (common and scientific names) and your personal observations
- Anatomy: Create a pencil study of all or part of a prehistoric animal skeleton on 18" x 24" illustration board. Also include small studies and necessary information about the bird (common and scientific names) and your personal observations
- Steps:
- "Draw what you see not what you know"
- Use a view finder (use your hands) to create an interesting composition
- Draw a point at the further most edges of skeleton to start
- Then lightly draw the exterior and interior contours looking more at the skeleton than at your paper
- Refine lines, restating where necessary, and use line variation to indicate darks
- Talk to yourself constantly while you are drawing
- Study and observe the lighted areas and the areas of bone in shadow: develop the darks slowly by carefully working from the light grays to the mid-grays to the dark grays and then finally to black
- DEVELOP TEXTURAL MARKS THAT SHOW 5 GRADUATIONS OF VALUE, 1 BEING WHITE AND 5 BEING BLACK (Make a 5 value scale to help yourself)
- Think about the actual texture of the bones and use marks that stimulate that texture
- Enjoy your
experience as scientific illustrators and aesthetic draftswomen!